Thursday, May 22, 2014

Dahlia's for the perennial garden

Michele K. Koskinen


Every year I try one new annual flower in my perennial garden. Perennials are my favorites but the blooming times often leave "Holes" in blooms and color during the growing season. Changing the look of a perennial garden can be accomplished by adding annuals and  providing additional color or texture to the garden. The timing of color and bloom can also be achieved by planting perennials according to bloom time. My answer to keeping the garden interesting is planting annuals and using foliage as a backdrop..
Last year I used Cleome hassleriana, commonly known as spider flower or spider plant, this year, I think I will add Dahlia's and continue with the Cleome. Both have a distinctive texture that works well with the smooth leaves of Iris and Sedum.


The definition of the Dahlia from wilipedia:
Dahlia (UK /dliə/ or US /dɑːliə/)[3] is a genus of bushy, tuberous,herbaceous perennial plants native mainly in Mexico, but also Central America, and Colombia. A member of the Asteraceae or Compositae,dicotyledonous plants, related species include the sunflower, daisy, chrysanthemum and zinnia. There are at least 36 species of dahlia, with hybrids commonly grown as garden plants. 

The over 20,000 Dahlia cultivars range from small 1" to a dinner plate size 10" and from from 1.5 to 5.5ft in height. The flower has no scent and is noted mainly for it's color and texture. Petal shapes can be as simple as a single petal around the center to the more complicated textural ball, split, twisted, tubular, curled, spider or more.
The texture and design of the dahlia is what makes it a beautiful cut flower for the gardener. Since I choose flowers for texture more than any other design element, the Dahlia should be perfect.


Dahlias, sun loving annuals, are planted in the spring and if in zone 7 or below will need to be dug up in the late fall and stored accordingly for the winter.

They like well drained soil, do not like high nitrogen content fertilizer (do not overfeed) and will need to be water deeply after the tubers have sprouted not before, and twice a week in the summer. The operative word is deeply. They should not be mulched near the crown or stem to prevent rot and should be staked as they tend to be top heavy. Cutting will make them bushier and they will produce more flowers as do many other flowering plants. So cut away for those beautiful indoor bouquets. Dahlias like Hosta may also be a slug magnet so prepare the bed to prevent the slugs from having a night snack.

And finally, for me, it will introduce another annual to my garden that will provide texture, color and interest when the perennials around it fade from view.

For more information

Growing-dahlias ADS
Growing-dahlias-in-pots
Gardening.cornell.edu


Late Spring Tasks for the Vegetable Garden

Sherrilyn M. Billger

All vegetable gardeners want a successful harvest, and I’ve found that no time is more pivotal than the first month or so after planting. This is when our seedlings take route, and establish a strong foundation for future growth. I spend more time in my garden in spring than any other time of year, and it always pays off. Here’s a list of late spring tasks that will benefit your organic vegetable crops.


1. Attract pollinators

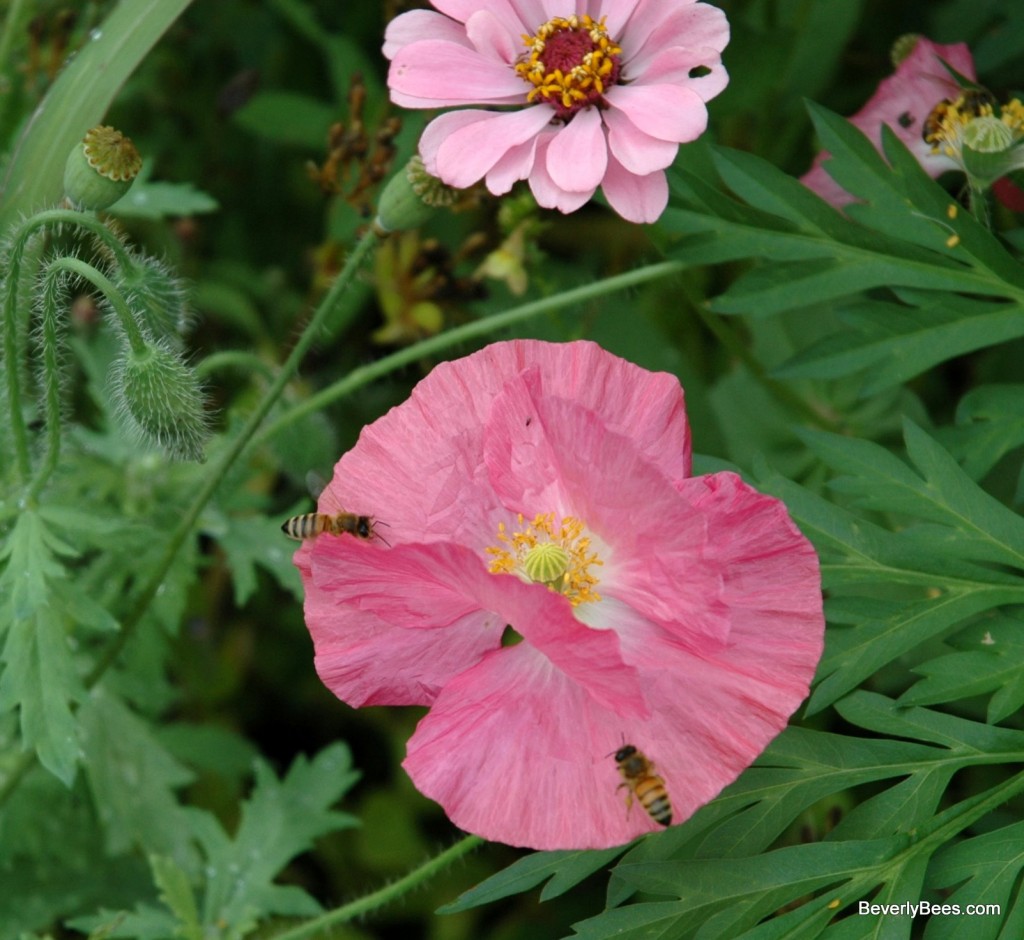
Many of our vegetable plants already attract bees and butterflies, but we can supplement these with flowers like Echinacea, bee balm (Monarda), poppies, zinnias, yarrow, and sunflowers, among others.  And I like to grow common milkweed (Asclepias syriaca) to attrach Monarch butterflies, and bronze fennel to attract Swallowtails. It’s also a good idea to include a shallow water source for the pollinators. And if you’re committed to attracting pollinators, you could get your garden certified.

2. Protect your vegetables from critters

I live in central city Philadelphia, but my vegetable garden lives in rural Berks county (zone 6b). I see no deer or groundhogs in my neighborhood, but they certainly frequent the neighborhood around my garden. The local rabbits are quite voracious as well. So I’ve installed simple 8-foot long 2x4 posts (not pressure-treated) and plastic deer fencing. I added heavy logs around the perimeter to prevent the rabbits and groundhogs from sneaking under the deer fence. I’ll have to keep an eye on my fence throughout the growing season, because those critters are crafty, and just might find/dig/gnaw a way through or around my fence. Vigilance is key.

3. Weed and Mulch

As they establish themselves, our vegetable plants compete with weeds for sun and water and soil nutrients. My garden is host to a seemingly endless army of thistles and wild onions. Until my vegetables are large enough to shade competitors, I need to weed frequently. I also use mulch to keep the soil moist and discourage weeds. Some gardeners use inorganic materials, but I prefer organic mulch. It doesn’t keep every weed out, but it will slowly decompose and further nourish my soil.

You might consider red plastic mulch for your tomatoes. Penn State scientists found that red mulch increased tomato harvest by 10 percent, on average.  To keep the weeds at bay and encourage a better tomato harvest, staple red mulch to black mulch and lay it on the ground red side up. The easiest time to do this is before you plant your seedlings, but you could also lay it after planting, and create cut-outs for your tomatoes to poke through.

4. Erect plant supports

If you haven’t yet done so, now is a great time to install plant supports.  Putting off this task will leave you wrestling with large plants, and you’ll risk breaking the stems and damaging the roots. Supports are particularly important for peas, pole beans, and tomatoes. I also like to provide supports for my cucumbers, and occasionally for my pepper plants. Garden supply stores offer a wide variety of stakes, teepees, and cages, but you can also make your own. In order to keep your garden chemical-free with natural materials, choose bamboo, cedar, cypress, and jute twine. I use jute twine throughout my garden, because I can toss it in my compost pile in the fall.

There are many ways to support your tomatoes. As a beginner gardener, I used the ubiquitous metal cages, but now I’ve graduated to the Florida weave.  It is a simple method, and requires stakes and twine. If your garden is in a windy area, put stakes between each plant and at the end of the rows. Use fewer stakes if wind isn’t such an issue for you. Begin your first weave about 6 inches from the ground, securing the twine to one end and gently weaving the twine through the row, next to each plant. After you get to the end of the row, finish the weave back to the end where you started and tie it off.  Add a new row of twine every week or so. (Side note: I grow indeterminate heirlooms, so I plan to prune my tomato plants throughout the season. Even with the Florida weave, the plants will get too tall eventually.)

5. Make frequent inspections

Organic vegetable gardening is actually really easy. The biggest time commitment comes in the spring, but the summer and fall payoff is truly worth it. Take a little extra time now to nurture the plants and help them set a strong foundation. The absolute best thing you can do for your garden now and throughout the growing season is to walk around and look at the plants. How are they doing? Are they getting enough sun and water? Do you see any evidence of disease or insect damage? Catch it early, and your plants are likely to recover. If you find something strange or troubling in your garden, don’t hesitate to contact the Master Gardeners. We’re here to help!


Thursday, May 15, 2014

Watering advice for containers

Michele K. Koskinen

As our memories of snow and a cold wet winter early spring is receding in our memory, gardeners know that summer is around the corner and we will have to be aware of how to keep our gardens and especially our containers well watered to thrive. This article is about containers and ways to increase the effectiveness of watering without watering everyday in the hottest weather.

The first solution is to buy containers with reservoirs, but not everyone can or wants to buy all new pots. Self watering pots cut the amount of time spent watering significantly and allows the busy gardener the flexibility of watering and forgetting until the next scheduled day. No more, when should I water, how much is needed, did it rain enough, etc. So investing in a new pot or an insert is one way to solve the problem.  


Photo from Thrifty Fun.com


Organic gardening .com/ self-watering-solutions

Thrifty Fun Making-Self-Watering-Planters.html

You can make your own containers if you are a DIY person. The link below has a great blog on this project.

urbanorganicgardener.com/how-self-watering-containers-work


Not handy or have time you can purchase a pot reservoir online. This one is from Gardeners.com


Solution 2 is to use the gel products that expand with moisture. However, read the directions carefully or you will have a pot full of gel that has pushed out the soil and newly potted plants.

Solution 3 Drip irrigation for your pots with a timer. Drip irrigation is a great way for the gardener to not have to worry about the weekly or even monthly watering chore. It is visible in and around the containers so it may be objectionable to some. If so using the drip irrigation for vacations or trips you take would be an ideal solution to saving your plants.

Solution 4 Coir for water retention. Like peat, coir used in the soil is great for water retention and soil amendments. Since peat is becoming a bit of a controversy many are now using coir. I have used it in the last two years and find it a great way to ensure my soiless potting mix has some soil retention qualities built in. www.finegardening.com
   

Going on vacation.
Photo From pacificpermaculture.ca

Wicking of water using old towels, cotton cord, twine or clothesline with a bucket of water next to your containers works. Although not always pretty, it is not recommended for long periods of time because of possible bacteria or fungus growing on the natural material. It can be a temporary solution that works well and is practically free. Highly recommended is cording from nylon, polyester or acrylic. There are also wicking cords that can be found in garden stores.   urbanfarmonline/TerryWick.pdf


So gardeners, spring is here and we will be taking out our containers to plant. Remember, watering everyday is not always fun. So look for some alternatives to your watering chores that will give you more time to enjoy the garden.


Other articles of interest:

urbanext.illinois/container watering
philadelphiacountymastergardeners./peat-moss-and-sustainability.html

Thursday, April 17, 2014

Rodale Institute Trip and soil biology

Jane Takahashi


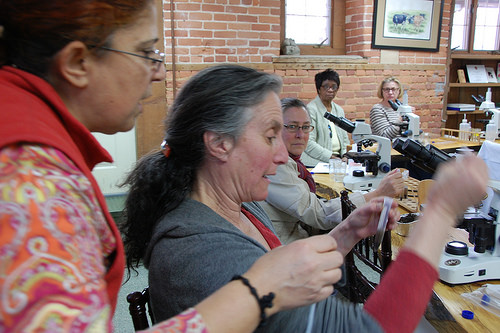
Fourteen Master Gardeners set out on Thursday, April 10, for advance training credits in a soil biology class at the Rodale Institute  We met at Anna Herman’s house around 11:30 and arrived at the institute around 1:00.  Our three hour class, instructed by Dr. Gladis Zinati, consisted of learning about the four major players of soil biology: bacteria, fungi, protozoa, and nematodes.  


Not only did she help us identify them in pictures, but gave us the opportunity to see them live under microscopes. Learning to take samples from soil or compost, using the microscope to look for specific microbes, and learning to count them was interesting and something we Master Gardener's could use in the field. It was a lot of fun observing the tiny microorganisms and hearing classmates yelling out, “I found a nematode that’s moving!” The class was a ton of fun. I found myself really enjoying the view under that scope, something totally different than what I’m used to.  


After the class we walked around and visited some of Rodale’s 305 acre farm, cute piglets bathing in their mud pit, oxen, goats and of course their fields.  None of this, I have to remember, could be possible without all those small organisms that we often do not see.   


Thursday, April 10, 2014

Milk bottle cloches to extend your growing season


Sandy Grimwade

A great way to give your tomatoes, peppers and other warm-weather crops a head start in the garden is to use a cloche or hot cap. This allows you to set out your plants a couple of weeks earlier than usual.
The guideline for setting out tomatoes is usually the last frost date, but this becomes earlier and earlier as the climate warms, and is affected by whether you live in a city, which creates a heat-island effect, or in the suburbs. Many other factors like the slope of your land and proximity of walls, buildings and trees can also affect your micro-climate.

The date normally quoted for setting out tomatoes and peppers in Philadelphia is usually around May 1 and in the suburbs May 15. Using a cloche can take some of the guesswork and uncertainty out of the planting-out date and allow setting out a couple of weeks early.

I use recycled one gallon or half-gallon plastic milk bottles with the bottom cut off. Rinse out the bottle, then (carefully) cut off the base of the bottle with a bread knife or a pair of scissors, and you are good to go. Set the bottle over the new transplant with the edge buried about 1 inch deep. If you just sit the bottle on the ground, it is liable to blow away in a strong wind. The warmth of the sun heats up the soil inside the bottle during the day. It also keeps the humidity high, which decreases transplant shock. At night, the temperature inside the bottle stays several degrees higher than the surrounding air, and the plant is protected from wind. I usually leave the tops off the bottles to avoid the trapped air becoming too humid, but if a late frost or cold and windy night is forecast it is quick and easy to put the tops on the bottles, and take them off the next morning. Once we get into late May or early June and your plants are growing rapidly it is time to take off the milk bottle cloches. They can be used for two or three seasons, but eventually the plastic becomes brittle and cracks. That is why I start collecting my empty milk bottles about the same time as I plant my seeds indoors.

A further advantage of the milk bottle cloche is protection from cutworms and other insects. I often leave my cloches on my eggplants until they are too big to fit, to avoid flea beetle and other insect damage.


Other uses for cloches in the garden include covering directly sown seed to encourage faster germination, and covering greens in the fall to extend the harvest.